
Budget Clothing Repair Kit: Mend More, Spend Less
Build a budget clothing repair kit with essentials you’ll actually use, compare coupon savings, and keep favorite clothes in rotation for longer.

Melissa A.
Updated: 2026-11-01
For students and families stretching a clothing budget, a missing button should not automatically mean a replacement purchase. A budget clothing repair kit helps you fix small faults and keep useful garments in rotation. Start with something you actually want to wear, then buy supplies for that repair.
EPA’s textile waste data estimates that the United States generated 17 million tons of textile municipal solid waste in 2018, with 11.3 million tons landfilled. These historical figures cover textiles broadly, not just clothing. They show why keeping usable fabric in service matters alongside saving money.
Start with what you already have
Search drawers for spare buttons, thread, safety pins, and scissors before shopping. Clothing often comes with an extra button attached to the care label. Reuse a small tin or zippered pouch for storage. Borrowing a tool for your first repair can also help you decide whether you need your own.
Prioritize hand sewing needles, matching thread, small scissors, pins, and a seam ripper. A needle threader can help if threading feels fiddly. Add patches or specialty needles when a specific job requires them. Before ordering, check several damaged garments; one spool may cover multiple repairs. Keep purchases focused on repairs.
Compare the cost of the actual repair
Price a small starter kit against buying missing items individually. Check thread quantities, needle sizes, and whether scissors are included. Then compare the delivered total after shipping and any coupon, rather than the advertised percentage off. Buying unnecessary supplies to qualify for free shipping can erase your savings.
Browse Terra’s store directory for relevant retailer offers, then read the exclusions before checkout. A promotion may exclude sale items, require a minimum purchase, or apply only to selected products. Treat any discount as a bonus to a purchase you already planned.
Choose an easy first project
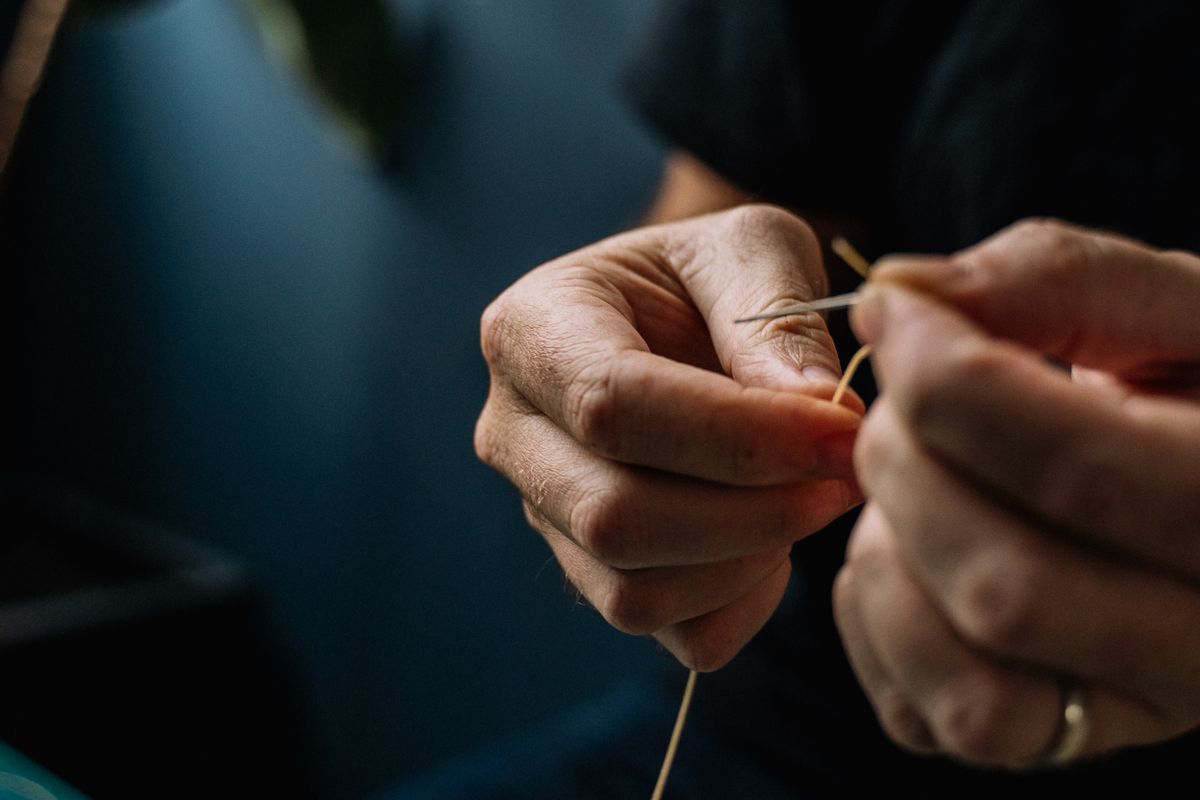
Replacing a button or closing a short opening along an existing seam can be a manageable starting point. Practice on scrap fabric first, follow a tutorial suited to your garment, and check the care label before using heat or adhesive patches. Keep needles and other sharp tools securely stored.
Check specialist options for delicate fabrics, waterproof layers, or complicated zippers. Patagonia’s repair page lists a $15 round-trip shipping charge, with repair work covered in most cases. That is a published service charge checked November 1, 2026, not a universal repair price. Confirm eligibility and current terms before sending anything.
Make the savings repeatable
Compare supplies you still need, plus your time, with a replacement you would genuinely buy. For illustration, $6 in materials that avoids a planned $30 purchase leaves $24 unspent. This is arithmetic using hypothetical prices, not measured savings or a current offer.
Keep leftover thread and buttons together, and note which supplies you actually use. Your budget clothing repair kit can grow gradually as your skills develop. For more ideas, explore Terra’s repair and reuse guide or its DIY versus buying article. The most useful saving is getting more wear from clothes you already like.
Sources
Sources checked November 1, 2026. Figures retain their stated data year or product scope.
U.S. EPA: Textiles—Material-Specific Data — 2018 U.S. municipal solid waste estimates; all textiles, not clothing alone.
Patagonia: Product Repair — Published repair eligibility, service and shipping information.
Photos: Arturo Añez (header) and Anna Tarazevich (sewing), via Pexels.
Today's Top Deals
Salons Direct
20% Off Storewide at Salons Direct

Altenew
Free Gift Tufted Chair Stamp Set at Altenew

Nopalera
10% Off (Storewide) at Nopalera

Noble Impulse
15% Off (Storewide) at Noble Impulse

Camille Jewelry
15% Off (Storewide) at Camille Jewelry

Peak Performance
10% Off (Storewide) at Peak Performance

Superare Fight Shop
30% Off (Storewide) at Superare Fight Shop

Grey State
10% Off (Storewide) at Grey State

Giftory
20% Off (Storewide) at Giftory

Team Express
25% Off (Storewide) at Team Express

Luxe Bidet
20% Off (Storewide) at Luxe Bidet

Cookies by Design
$20 Off Select Items (minimum Order $50) at Cookies by Design